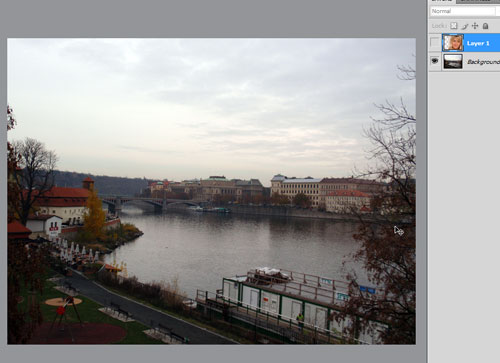
When you process plenty of photographs, it's useful to have a workflow to make the work systematic and therefore, faster. Also, it ensures that you don't forget to do something to your images before you send them out. There's many ways to go about it and I confess that I don't have a set one. Often the recommended sequence will be something like 1) indexing the images (adding tags for easy searching), 2) initial cropping and cleaning up the image, 3) image adjustments, 4) sharpening, 5) final cropping, and 6) compressing and saving. These steps are highly condensed and vary widely among Photoshop users. Today we're going to tackle something that belongs to step 2: straightening out a picture.

You could very well straighten out a picture after you've done everything else, but I like to do it first because it helps to orient your mind properly as to what the picture should look like. Looking at a crooked picture for too long gives you a pervasive feeling that something is wrong with the picture, and it's bothersome.