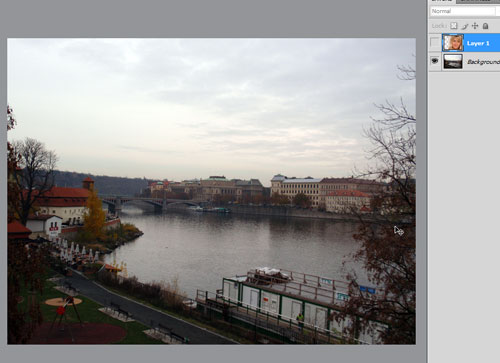
I'll start with an image with two layers. (Feel free to follow along or experiment by creating an image with any two layers you want to combine.) Here's the bottom layer:
and here's the top layer:
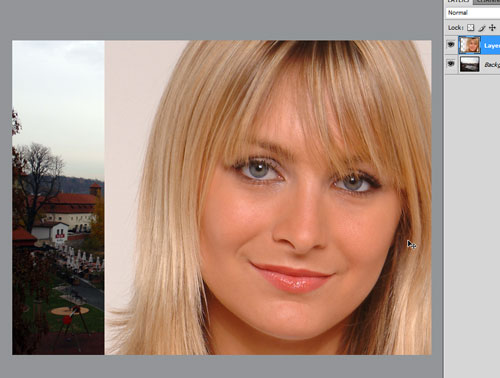
(You already know this is going to be cheesy.)
There are two ways to create a layer mask. The faster way is to simply select the top layer and click on the Layer Mask button at the bottom of the Layers panel:

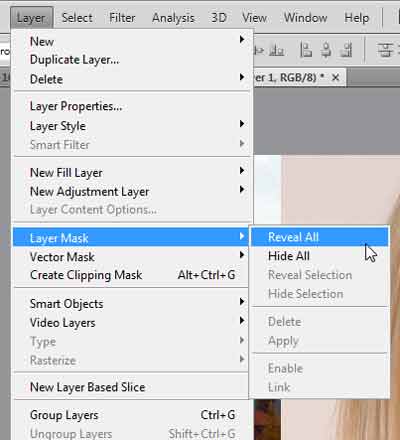
The second method is to select the top layer and on the menu choose Layer > Layer Mask > and either Reveal all or Hide all.
The only principle of the Layer Mask is this: Whatever is pure white on the Layer Mask is 100% opaque on the layer, and whatever is pure black on the Layer Mask is 0% opaque on the layer. A pixel on the layer mask that is 20% gray will be 80% opaque on the layer, and so on. Can you envision its uses now?
Anyway, before anything else, there is a way to define the Layer Mask transparency before creating it. Simply make your selection using any of the tools (here I use an elliptical marquee)...
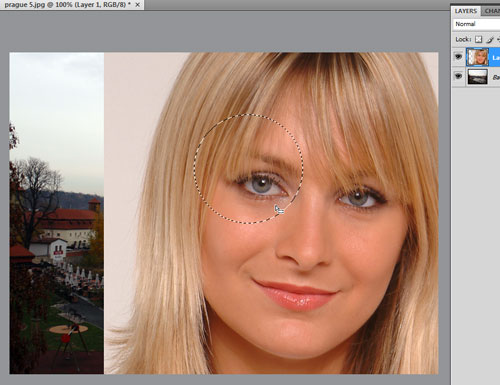
... and use either the first method (or Reveal All from the second method) above.
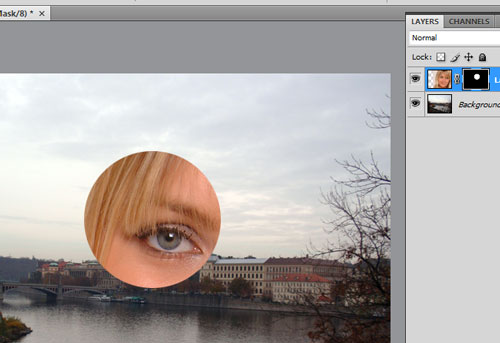
Your selection will automatically be white and the rest is black in the Layer Mask.
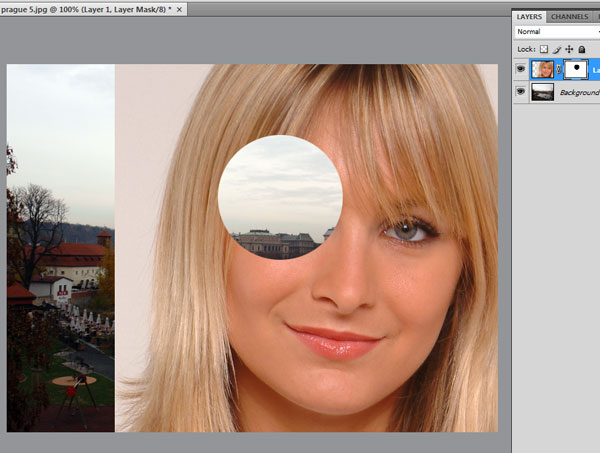
On the other hand, if you want what you've selected to be transparent instead, hold down ALT (Option on Mac) while clicking the Layer Mask button (or use Hide All) and it will be punched out.
You may be wondering, what is the point of the Layer Mask? Couldn't I just have used the Eraser tool to punch a hole out of my layer or remove unwanted areas? Layer Masks are special because they are Nondestructive. This means that all the original pixels of your layer are intact when you save the file. When you erase part of a layer with the Erase tool and save/close the image, it's gone forever. If you make mistakes on the Layer Mask, you can paint over it with either white or black or gray to bring your image back or hide more of it.
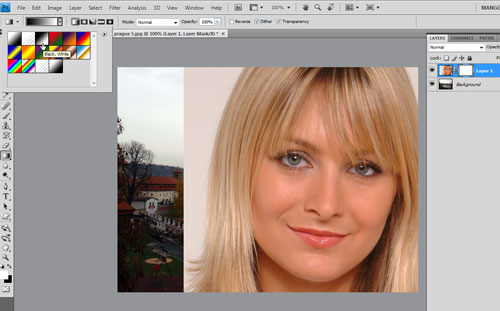
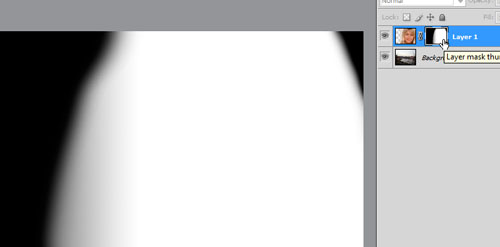
Anyway, let's continue with the demo. With the thumbnail of the Layer Mask selected, run a black-and-white gradient through it any way you like (play around). (It's important to note that the thumbnail of the Layer Mask is selected and not the thumbnail of the layer it's attached to, because you might paint a gradient over your original image!)
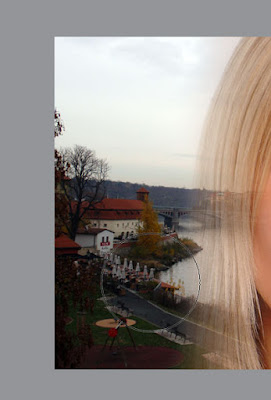
Here I've opted to do a straight gradient across the Layer Mask, black on the left and white on the front (hold SHIFT as you drag the gradient tool to make it perfectly straight).
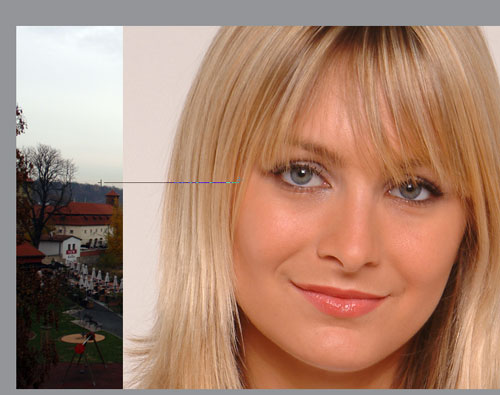
Voila. Instant cheese effect.
Select the Brush tool colored black, and paint softly over areas that are still visible but you want to render transparent. (Like our model's background, that is still visible above.)
Unlinking the Layer Mask
When you try to move or resize the Layer or the Layer Mask, you may notice that they move as one. What if you've punched a hole like in the example above but decide later that the hole isn't in the right place? Unlinking the Layer Mask allows you to make transformations in either the Layer or Layer Mask without affecting the other. To do it, simply click on the "chain" between the two thumbnails:
Now with the thumbnail of the Layer Mask selected, try moving it.
The image remains in place but the mask reveals and hides new areas.
Now click on the thumbnail of the Layer instead:

When you move the layer, only the image moves but the Layer Mask stays firmly in place.
You can also transform the image (here I am resizing it using CTRL-T (Command-T for Macs)) and the Layer Mask will not budge (check out its thumbnail on the right).
When they are linked again, try resizing the layer. Both the image and the Layer Mask follow suit.
A few more things that may come in handy:
SHIFT-click the Layer Mask thumbnail and it will disable the Layer Mask. It's still there, but you can take a look at what the layer would look like without it. Click it again to bring it back.
ALT-click (Option-click for Macs) the Layer Mask thumbnail and it will show the Layer Mask instead of the image. You can inspect the layer mask for problem areas (abrupt changes from black to white) or maybe you just want to see how the layer mask works. ALT-click the thumbnail again to bring it back.
CTRL-click (Command-click for Macs) the Layer Mask thumbnail and it will create a selection based on the Layer Mask.
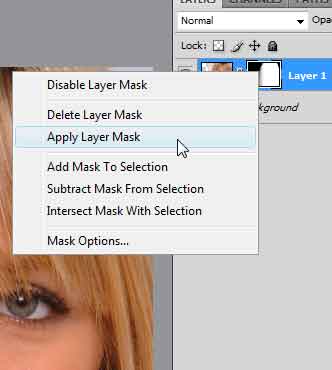
If you're committed to a Layer Mask's perfection and you want to knock out all transparent pixels, right-click on the Layer Mask thumbnail and select "Apply Layer Mask" and Photoshop will cut them out for you. Warning: this step is destructive. Once you Apply the Layer Mask and save, there's no turning back.
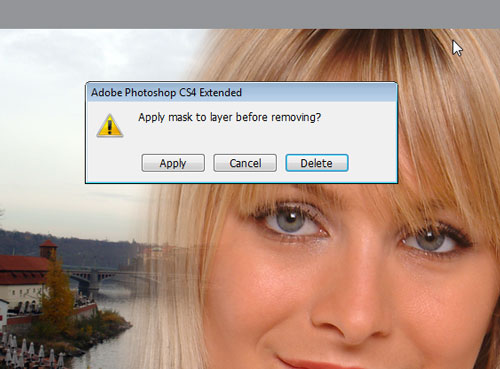
If you drag a Layer Mask thumbnail to the trash, it will ask you if you want to Apply it, or forget it ever existed.
Some Fun with Layer Masks
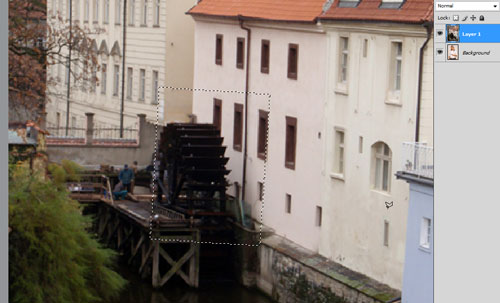
Here I'm going to apply everything above to make an image composite. Here is my bottom layer:
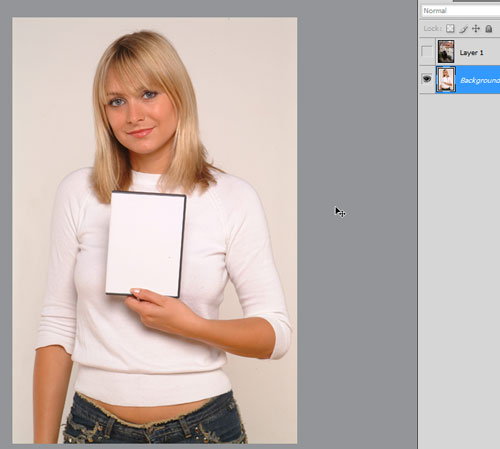
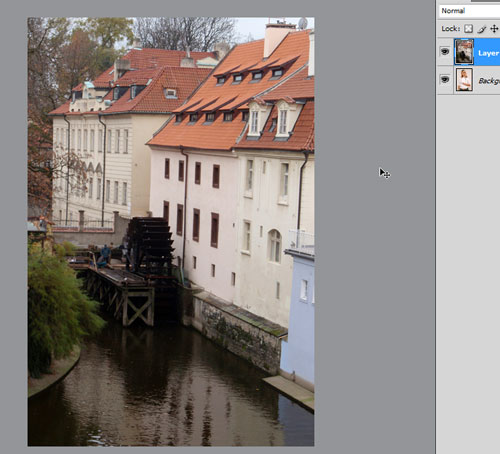
and here is my top layer:
Hide the top layer (click on the eye to the left of its thumbnail on the Layers panel). Create a marquee using the polygon lasso tool:
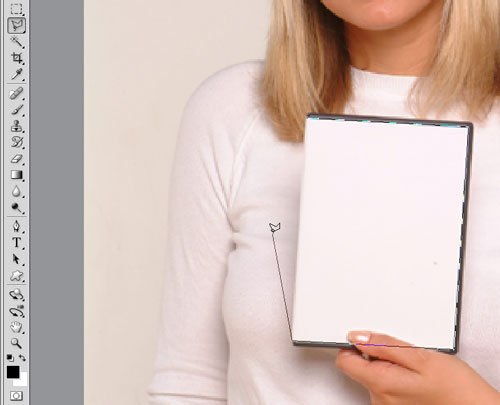
Finished marquee:
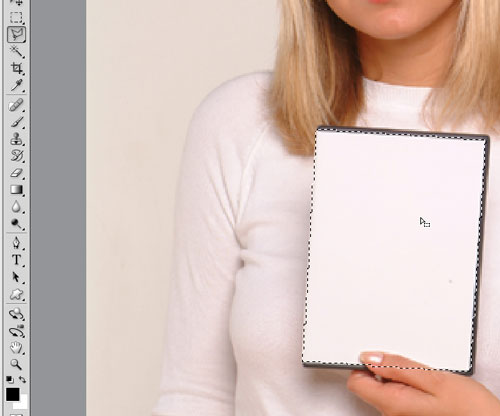
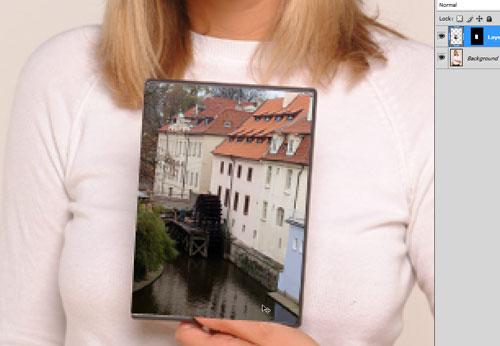
Un-hide the top layer:
Click on the Layer Mask button:
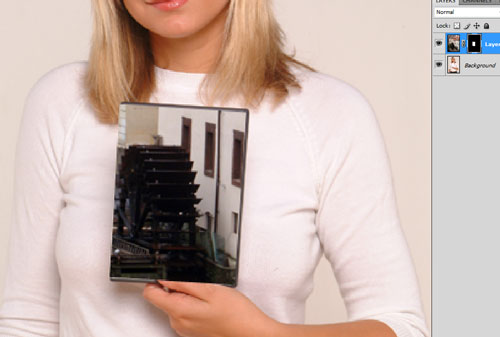
Unlink the Layer Mask and the Layer:
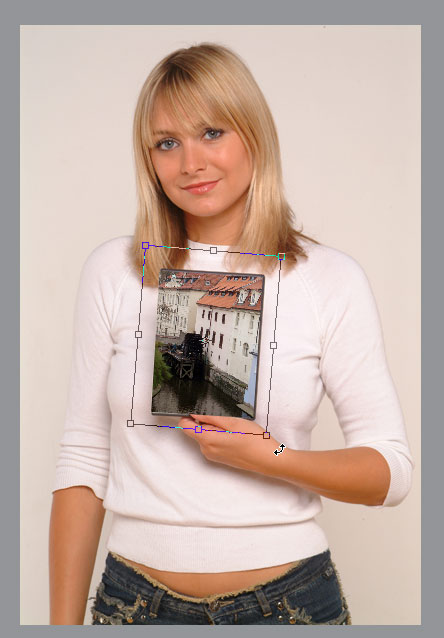
Press CTRL-T to shrink and slightly rotate the image so it fits into the DVD cover mostly.
You'll notice that her thumb is behind the top layer, of course.
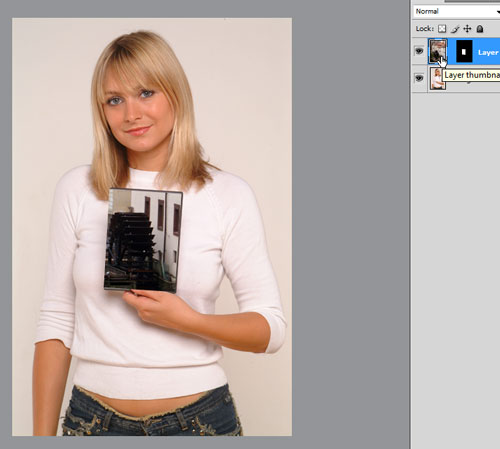
Using a soft-edged brush colored black and making sure the Layer Mask thumbnail is selected, paint over where the thumb would be:

Oops! I've overshot. No worries. (Actually this is necessary so we know where the thumb ends naturally instead of painting blindly.)
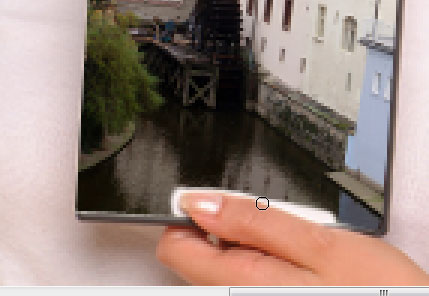
Change the color of the brush to white and making sure the Layer Mask thumbnail is selected, paint over the dvd cover just to the edge of the thumb:
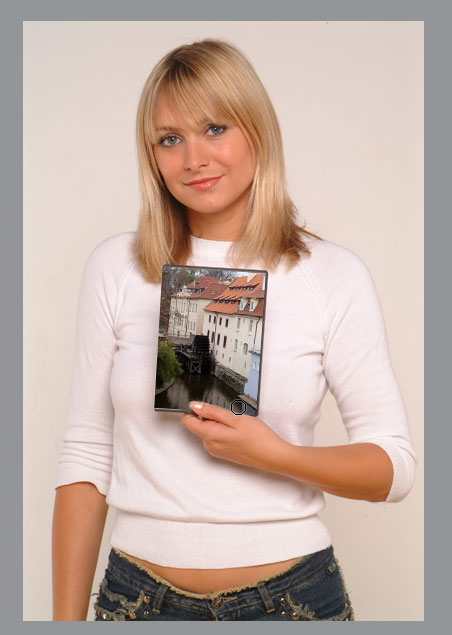
Voila, not that cheesy but kind of fun.
Emulating the Layer Mask effect in Photoshop Elements
Unfortunately, Photoshop Elements strictly does not have a built-in Layer Mask function. However, you may still cheat and emulate the effect. It takes a step or two more and it's not as flexible as Photoshop's Layer Masks, but it will still enable you to make image composites and blends like a pro.
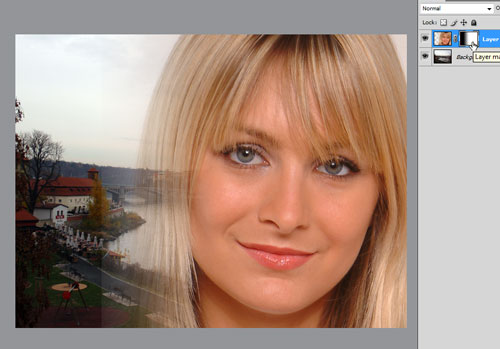
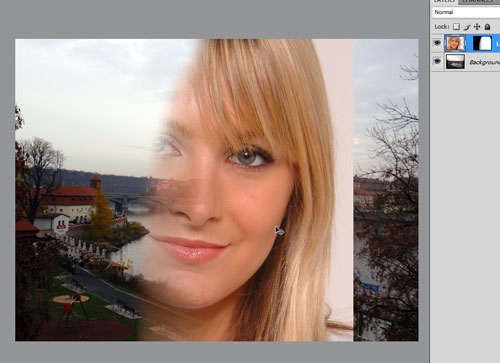
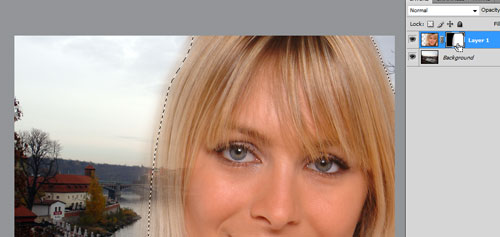
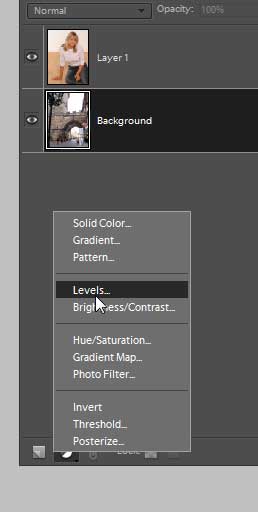
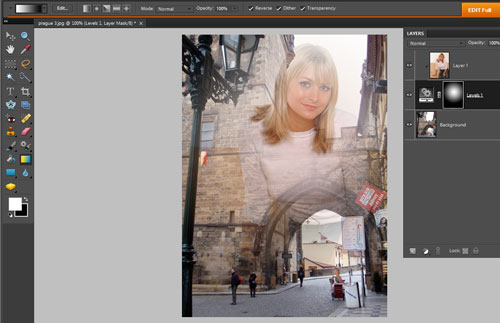
Here we have my image, with a woman on top and Prague on the bottom layer:
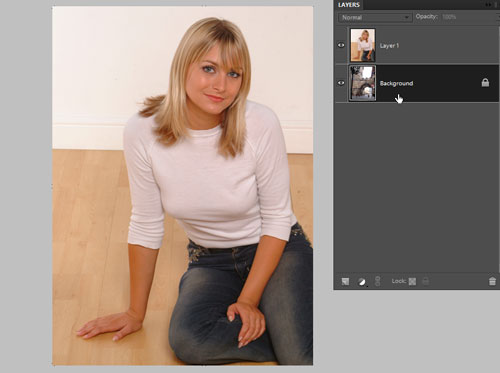
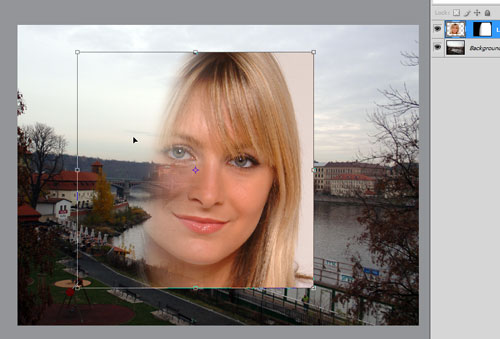
Select the bottom layer and click on the Adjustment Layers button (the half-black-half-white circle). Choose "Levels" or "Brightness and Contrast" (doesn't matter for now).
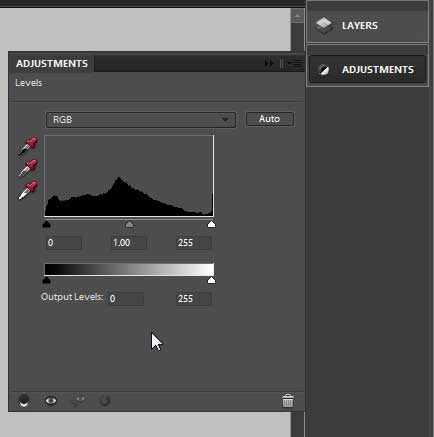
This is what you'll see. Ignore this for this lesson and click on "Layers" on the right instead.
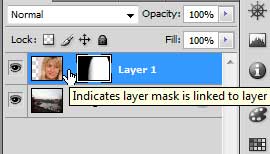
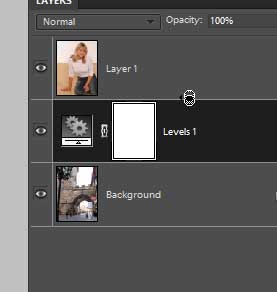
Hover your mouse in the line between the top layer and the Adjustment Layer, and ALT-click it (the mouse pointer will look like merging circles).
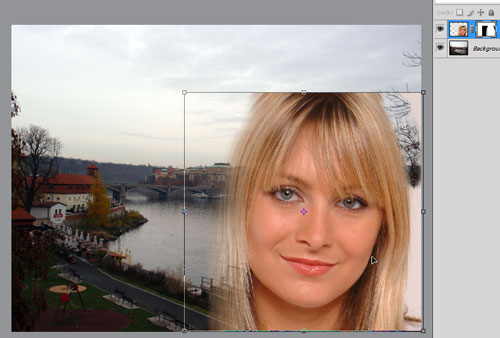
If you've done it correctly, there will be an arrow to the left of you top layer and it will be indented.
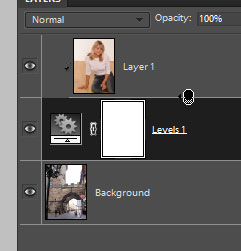
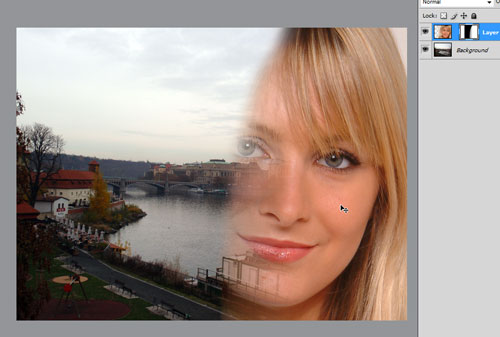
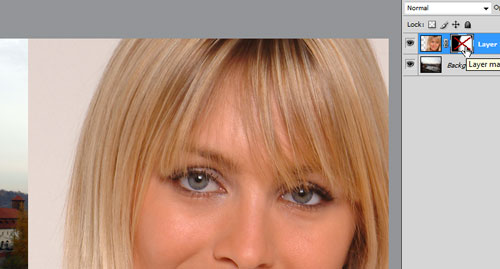
Click on the thumbnail of the Adjustment Layer and paint on it like you would a Layer Mask. Here I've used a radial gradient to give my woman a vignette, but you can use paintbrushes, fill large areas with the paintbucket, go crazy. Just remember: black on the adjustment layer will be transparent and white will be opaque.
The Layer Mask tool will come in handy in a bunch of future lessons, so I advise you to play around with them till you are comfortable, and I'll show you how to maximize its potential later on. If you've any questions, just shoot me a comment.


