Sunday 16 May 2010

Curves Basics: Opening the Door to Fine Editing

View Comments
I wanted to do a "fun" post but I just realized that there can be no fun until I've taught what is perhaps the most important, most-used, and most powerful tool in image adjustment: Curves. Out of the box, this function only works in Photoshop, but Elements users can do Curves adjustments with either Elements+, a third-party patch that unlocks it for a fee ($12) or SmartCurve, a plugin that can be easily installed. Once you've done either, you can join in the fun!

The only prerequisite for this tutorial is Understanding Histograms. However, Understanding Levels will also help.

Tuesday 4 May 2010

Adjustment Layers: Changing Only a Part of an Image and Selective Coloring

View Comments
Welcome to the next lesson on image adjustments! Today we'll learn about the basics of adjustment layers. For the full lesson, you'll need the following prerequisites:
1. Layer Masks
2. Levels
because Adjustment Layers are really just a combination of most image adjustments (brightness/contrast, levels, curves, color balance, exposure, etc.) with a layer mask. However, if after reading the Layer Masks tutorial you're still on the fence about using it (or if you didn't get the lesson that well), never fear - adjustment layers are intuitive and easy. This tutorial is applicable in both Photoshop and Elements.
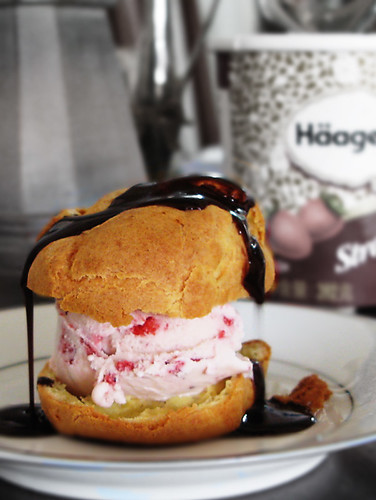
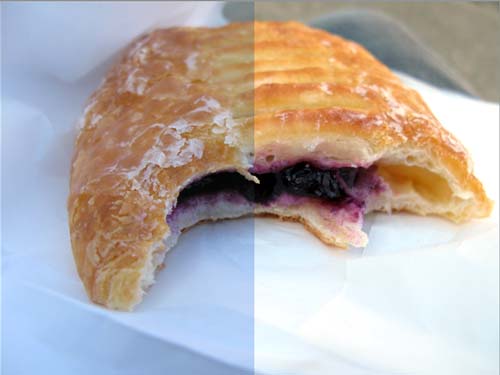
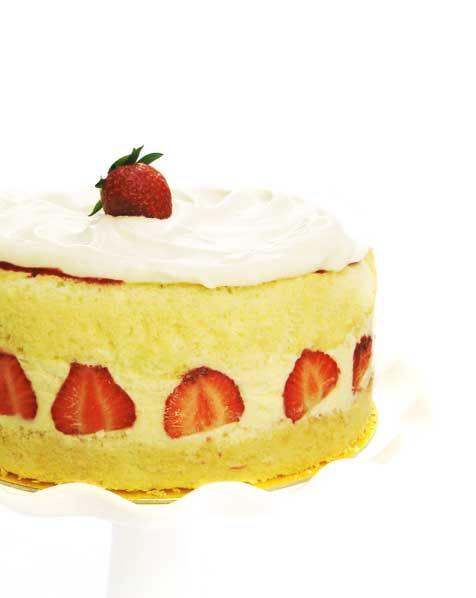
Strawberry Profiterole
Adjustment layers are a very popular trick in a photo editor's arsenal because 1. they allow selective adjustment of only a certain part of the image, and 2. they are nondestructive, which means they do not change an image permanently - they can be deleted, moved around, the layer mask can be edited, and even the adjustment you make can be edited. For example, if you suddenly decide that the Levels adjustment you made isn't quite right, you can simply redo the adjustment layer over and over as many times as you like and the image under the adjustment layer will be intact and unharmed.
Friday 23 April 2010

Levels: Bright Lights, Dark Shadows, Contrasty-er Contrasts

View Comments
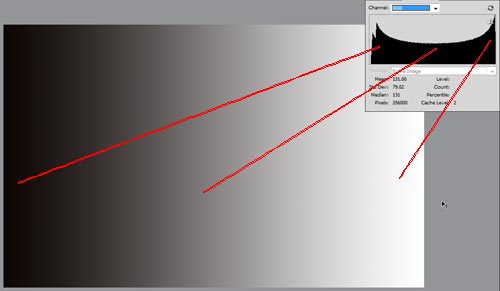
Welcome to the second part of our lesson on making image adjustments! You must be able to understand histograms as a prerequisite for this lesson, so read my previous post about Understanding Histograms here. Don't be put off by the number of images in this post - histograms and levels are really quite easy, and with some practice you should be making your images look better -- in your terms -- in less than 3 seconds.

Why did I say "in your terms"? Well, sure, there are some image editing functions that are "automatic", and they rely on artificial intelligence to determine what makes a picture look good (and it's based on how it thinks a histogram should look). Making your own adjustments allows greater creative control, and can take it from computer-determined "pleasant" to amazing.

Sunday 18 April 2010

Understanding Histograms

View Comments
Not long ago, Susan was asking me why the supposedly white areas in her photographs were dingy. Actually, I thought her photos were beautiful and didn't look dingy or off-white, but it can't be denied that making adjustments in the brightness, contrast, exposure, and colors of an image can make or break it. And being able to control these adjustments in a deliberate, precise manner can only be achieved by understanding histograms. Though the term seems a little intimidating (it shares a root with "history" (yuck) and "histology"), it's really, really not.

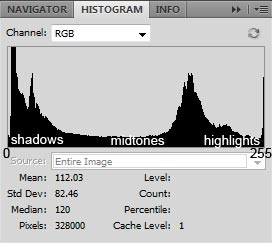
A Histogram is a graph that represents all the pixels in an image, mapped out into an axis that goes from dark to light (or sometimes, light to dark, though that's not how Photoshop does it). Many cameras can show you a histogram as you're making a shot (at least my Canon Powershot G7 does) to tell you if it's looking very bright or very dark or just right. In the example above, you can see that there's a huge peak in the shadows -- that's where most of the pixels are -- then another one in between midtones and highlights, then another small one at the far end of the highlights. Pure black is represented in Photoshop as "Level 0" and Pure white is "Level 255".

Monday 8 March 2010

Making Life Easier: Automatic Processing of Multiple Files

View Comments
Every now and again I'll hear the problem over twitter: "I need to (something) (a big number of) files!!" Thankfully, both Adobe Photoshop (CS2 and above for this tutorial) and Photoshop Elements have built-in commands that enable you to automatically process a big (or even small) batch of files so you can do more important things than sit in front of a computer all day. I'll walk you through the easiest ways to do this. Take note that in Photoshop, there are more advanced ways to batch-process files, but for now we'll use the one that takes the least effort for basic tasks. Click here to go to the Elements tutorial.

Photoshop: Using the Image Processor

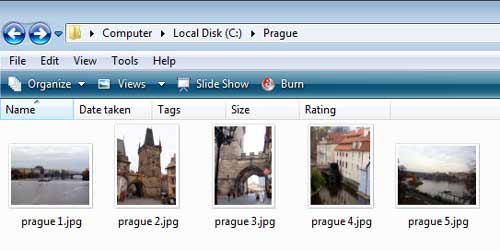
The Image Processor is a script included with Photoshop that enables you to automatically resize and save multiple files, with additional options if you want to make small adjustments. For this lesson, I'm going to process the folder I have above, containing large pictures of Prague.

Friday 26 February 2010

The Powerful Layer Mask Tool

View Comments
Next to adjusting colors and contrast, the most-used tool for me would probably be the Layer Mask Tool. The Layer Mask is a method for making areas of a layer selectively transparent or opaque (and varying degrees of transparency in between). It's the tool that finds use for very fine adjustments to small areas of your image, to making composites of images -- everything from cheesy portraits inside a brandy snifter to amazing image transformations). Right now we'll deal with everything you need to know about the Layer Mask Tool. It's so threaded into the image-editing process that it has to be taught, I feel, before most anything else.

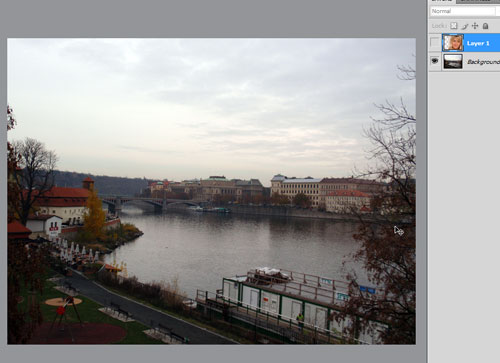
I'll start with an image with two layers. (Feel free to follow along or experiment by creating an image with any two layers you want to combine.) Here's the bottom layer:

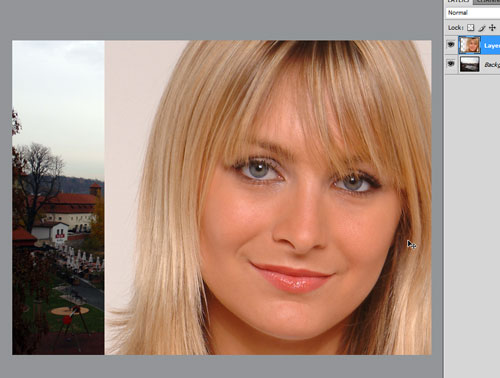
and here's the top layer:

(You already know this is going to be cheesy.)

Friday 12 February 2010

Removing Dust and Scratches Correctly (Part 1)

View Comments
Valentine's Day has me going through family albums, looking at my parents' wedding pictures. Unfortunately, for older prints, the lamination isn't that sophisticated and time has scratched their surfaces so they are, on close inspection, quite dirty. Even for newer prints not taken with a digital camera, careless handling and storage adds clingy, practically permanent dust. Fortunately, Photoshop and Elements has a tool for easy removal of these artifacts - the Dust and Scratches Tool. Today I'll show you the correct way to use the tool on a basic level (I'll need to teach another basic skill - Layer Masks, coming soon - to show how to use it on an intermediate level). Hopefully this way you can breathe new life into your old pictures (with the help of a scanner, of course).
Click on the image to see the dust and scratches in all their glory. By the way, that is my aunt, not my mum. I'm using Elements here, but the instructions for Photoshop are exactly the same.

Monday 1 February 2010

Straightening Out Pictures

View Comments
When you process plenty of photographs, it's useful to have a workflow to make the work systematic and therefore, faster. Also, it ensures that you don't forget to do something to your images before you send them out. There's many ways to go about it and I confess that I don't have a set one. Often the recommended sequence will be something like 1) indexing the images (adding tags for easy searching), 2) initial cropping and cleaning up the image, 3) image adjustments, 4) sharpening, 5) final cropping, and 6) compressing and saving. These steps are highly condensed and vary widely among Photoshop users. Today we're going to tackle something that belongs to step 2: straightening out a picture.
You could very well straighten out a picture after you've done everything else, but I like to do it first because it helps to orient your mind properly as to what the picture should look like. Looking at a crooked picture for too long gives you a pervasive feeling that something is wrong with the picture, and it's bothersome.

Tuesday 26 January 2010

Special Effects

View Comments
I've always wanted to set up a blog that educates people on how to use Photoshop effectively. When my friends Todd and Diane set up their photography blog, it resurfaced in my consciousness, but I always feared, like I told them in the comments, that food bloggers would come knocking on my door with pitchforks.
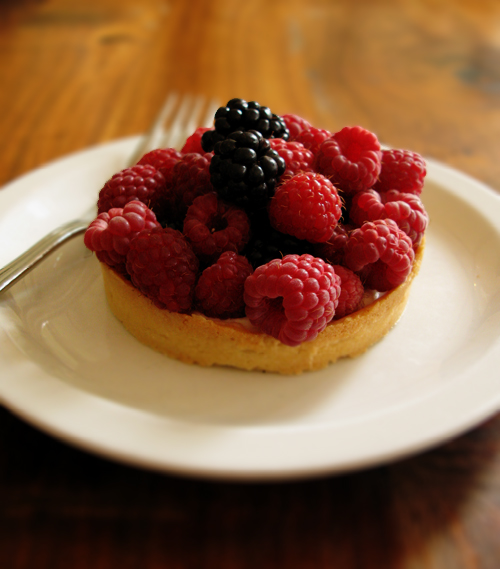
Tartine - Raspberry Tart
Somehow the idea is that photographs that have been through Photoshop are less genuine. It's a stigma that Kate Winslet and faithful readers of Photoshop Disasters know very well. My fear is also that accomplished photographers would feel cheated at the idea that people who don't work as hard to get perfect photographs make the grade by altering their pictures to look like they were better photographers.