Tuesday, 4 May 2010

Adjustment Layers: Changing Only a Part of an Image and Selective Coloring

View Comments
Welcome to the next lesson on image adjustments! Today we'll learn about the basics of adjustment layers. For the full lesson, you'll need the following prerequisites:
1. Layer Masks
2. Levels
because Adjustment Layers are really just a combination of most image adjustments (brightness/contrast, levels, curves, color balance, exposure, etc.) with a layer mask. However, if after reading the Layer Masks tutorial you're still on the fence about using it (or if you didn't get the lesson that well), never fear - adjustment layers are intuitive and easy. This tutorial is applicable in both Photoshop and Elements.
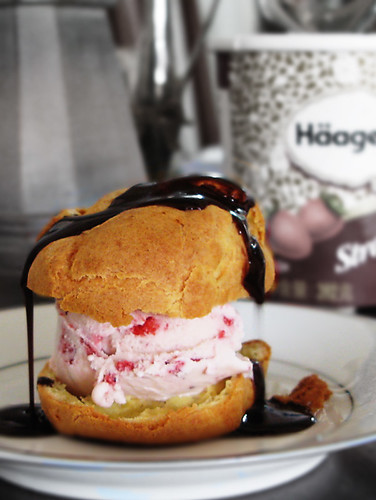
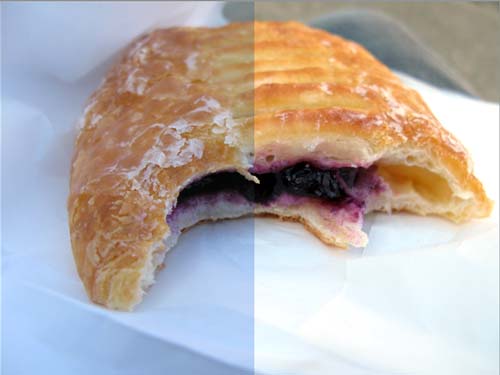
Strawberry Profiterole
Adjustment layers are a very popular trick in a photo editor's arsenal because 1. they allow selective adjustment of only a certain part of the image, and 2. they are nondestructive, which means they do not change an image permanently - they can be deleted, moved around, the layer mask can be edited, and even the adjustment you make can be edited. For example, if you suddenly decide that the Levels adjustment you made isn't quite right, you can simply redo the adjustment layer over and over as many times as you like and the image under the adjustment layer will be intact and unharmed.

Friday, 23 April 2010

Levels: Bright Lights, Dark Shadows, Contrasty-er Contrasts

View Comments
Welcome to the second part of our lesson on making image adjustments! You must be able to understand histograms as a prerequisite for this lesson, so read my previous post about Understanding Histograms here. Don't be put off by the number of images in this post - histograms and levels are really quite easy, and with some practice you should be making your images look better -- in your terms -- in less than 3 seconds.

Why did I say "in your terms"? Well, sure, there are some image editing functions that are "automatic", and they rely on artificial intelligence to determine what makes a picture look good (and it's based on how it thinks a histogram should look). Making your own adjustments allows greater creative control, and can take it from computer-determined "pleasant" to amazing.

Sunday, 18 April 2010

Understanding Histograms

View Comments
Not long ago, Susan was asking me why the supposedly white areas in her photographs were dingy. Actually, I thought her photos were beautiful and didn't look dingy or off-white, but it can't be denied that making adjustments in the brightness, contrast, exposure, and colors of an image can make or break it. And being able to control these adjustments in a deliberate, precise manner can only be achieved by understanding histograms. Though the term seems a little intimidating (it shares a root with "history" (yuck) and "histology"), it's really, really not.

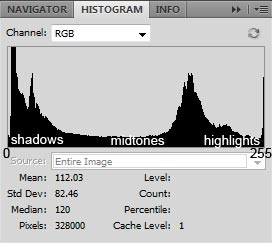
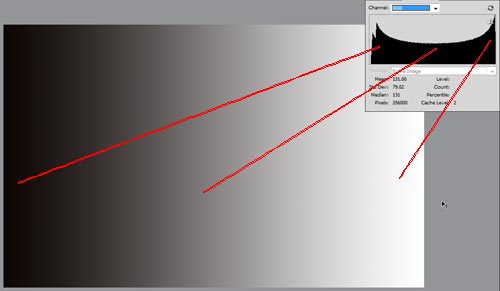
A Histogram is a graph that represents all the pixels in an image, mapped out into an axis that goes from dark to light (or sometimes, light to dark, though that's not how Photoshop does it). Many cameras can show you a histogram as you're making a shot (at least my Canon Powershot G7 does) to tell you if it's looking very bright or very dark or just right. In the example above, you can see that there's a huge peak in the shadows -- that's where most of the pixels are -- then another one in between midtones and highlights, then another small one at the far end of the highlights. Pure black is represented in Photoshop as "Level 0" and Pure white is "Level 255".

Monday, 8 March 2010

Making Life Easier: Automatic Processing of Multiple Files

View Comments
Every now and again I'll hear the problem over twitter: "I need to (something) (a big number of) files!!" Thankfully, both Adobe Photoshop (CS2 and above for this tutorial) and Photoshop Elements have built-in commands that enable you to automatically process a big (or even small) batch of files so you can do more important things than sit in front of a computer all day. I'll walk you through the easiest ways to do this. Take note that in Photoshop, there are more advanced ways to batch-process files, but for now we'll use the one that takes the least effort for basic tasks. Click here to go to the Elements tutorial.

Photoshop: Using the Image Processor

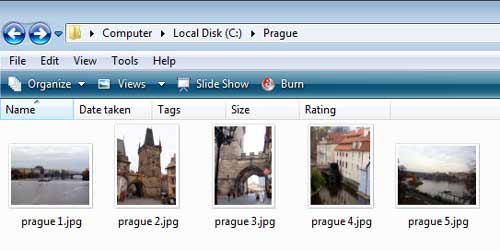
The Image Processor is a script included with Photoshop that enables you to automatically resize and save multiple files, with additional options if you want to make small adjustments. For this lesson, I'm going to process the folder I have above, containing large pictures of Prague.