1. Layer Masks
2. Levels
because Adjustment Layers are really just a combination of most image adjustments (brightness/contrast, levels, curves, color balance, exposure, etc.) with a layer mask. However, if after reading the Layer Masks tutorial you're still on the fence about using it (or if you didn't get the lesson that well), never fear - adjustment layers are intuitive and easy. This tutorial is applicable in both Photoshop and Elements.
Adjustment layers are a very popular trick in a photo editor's arsenal because 1. they allow selective adjustment of only a certain part of the image, and 2. they are nondestructive, which means they do not change an image permanently - they can be deleted, moved around, the layer mask can be edited, and even the adjustment you make can be edited. For example, if you suddenly decide that the Levels adjustment you made isn't quite right, you can simply redo the adjustment layer over and over as many times as you like and the image under the adjustment layer will be intact and unharmed.
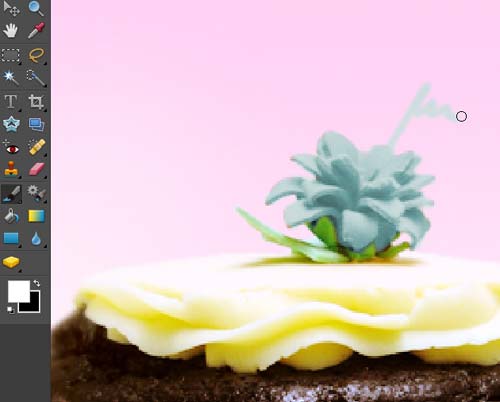
So we'll start with our first lesson, selective coloring. This technique is most useful for when you want your subject to pop out of, say, a particularly busy background like the one I have here. Other applications are for when you want the subject to look "new" among "aged" items, etc.
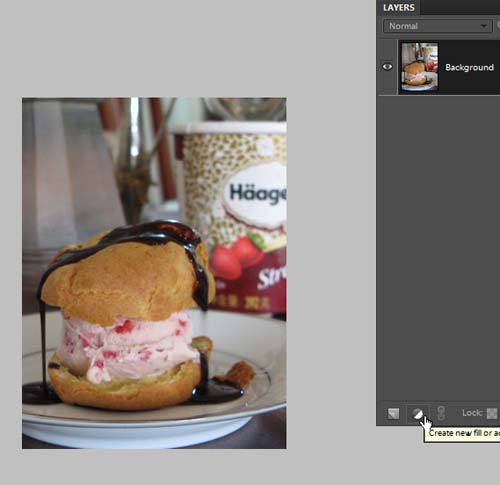
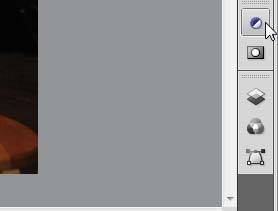
To begin in either Photoshop or Elements, bring up the Layers window and click on the half/half circle below. Alternatively, you can use the menu and click on Layer > New Adjustment Layer.
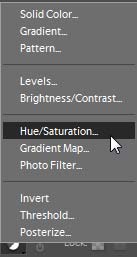
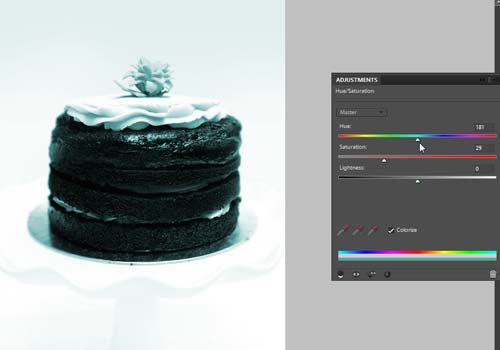
In either approach, you get a list of all possible adjustment layers. In Photoshop, this list is obviously much longer. Click on Hue/Saturation....
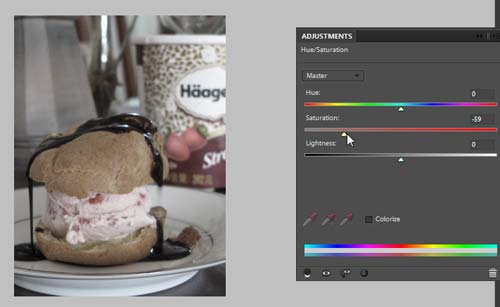
You get a mini-version of the Hue/Saturation dialog. There are four icons on the bottom in Photoshop Elements (not super-important for this lesson):
Two circles - when selected, the adjustment layer only affects the layer below it. If deselected, it affects all layers below it.
Eye - means the adjustment layer's effect is visible. Click on it and your image goes back to the way it was.
Eye with arrow - press and hold it to see what your image looked like on your last adjustment.
Returning arrow - resets to the adjustment default.
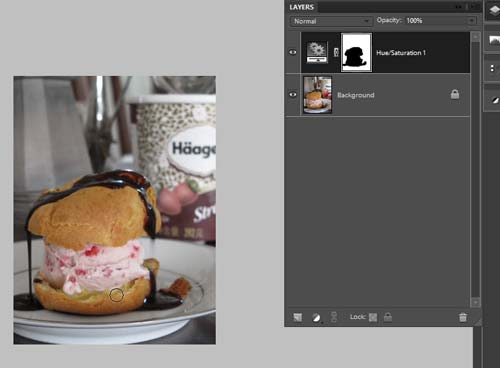
Anyway, drag the slider of Saturation almost all the way to the left, based on your preference. I like to preserve a little bit of the color, just to antique it a little bit but not completely black-and-white.
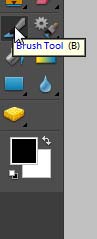
Click on the brush tool. Make sure the color palette selected is black for the foreground color.
Adjustment layers work under a very simple principle: White areas show the adjustment in the image, while black areas show the image unadjusted. Gray areas show an in-between adjustment (lighter grays are more affected, darker grays are slightly affected).
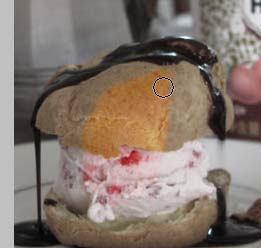
Paint carefully over the part of the image you want to revert back to its vibrant colors.
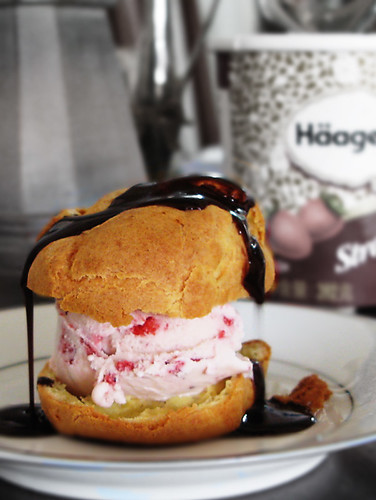
Finished painting. The final result (after a few more contrast adjustments to the whole image) is at the beginning of the post.
Well now, that was easy!
Changing the Color of an Object
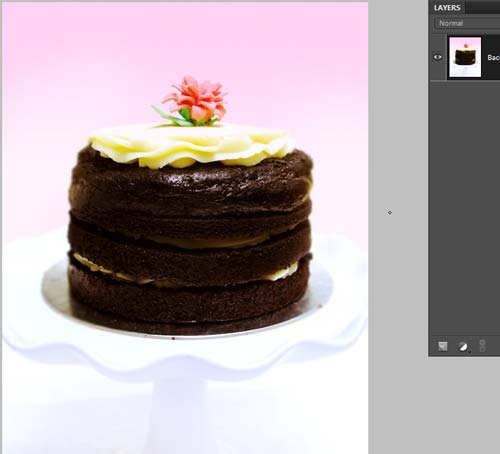
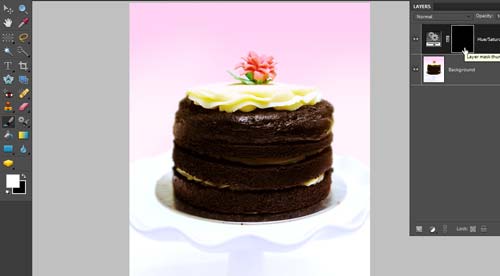
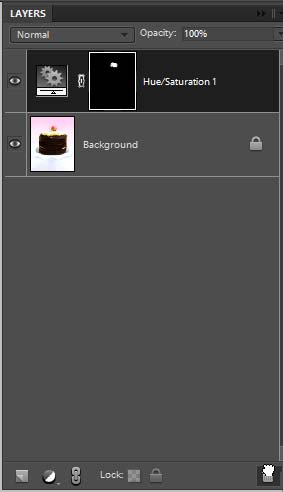
I don't like pink flowers! I like blue ones! Just bring up the Hue/Saturation... adjustment layer again...
Click on the Colorize checkbox (you may skip this if you think it looks better) and drag the Hue slider around until the object is the color you like. Everything else will change color - that's okay, as you probably have already guessed.
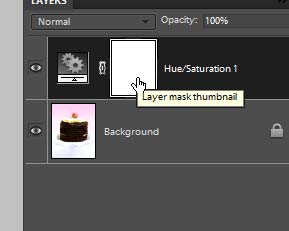
Make sure the thumbnail of the adjustment layer's mask is selected.
Fill the mask with black. In my example, black is my background color, so the shortcut Ctrl-Backspace (Command-Delete on the Mac) will fill it with black. Based on the principle above, the adjustment becomes invisible, so the image goes back to the way it was.
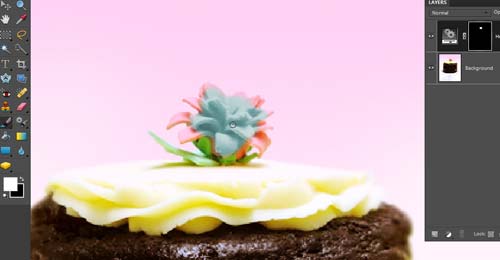
This time, with white as your foreground color, carefully paint over the item in question.
And if you make a mistake...

Just switch to a black brush and paint over the mistake.
Because adjustment layers are nondestructive, they are fully editable. Just double-click on the adjustment layer's thumbnail (in this example, the "Gears" to the left of its mask) and you can move the sliders around or whatever to get the effect you want. If you don't like you adjustment layer anymore, just click on the trash while it's selected and it will go away. Your image will be like it was untouched. You can only save Adjustment Layers if you save your image as a PSD file, however.
Gentle Adjustments of Specific Areas
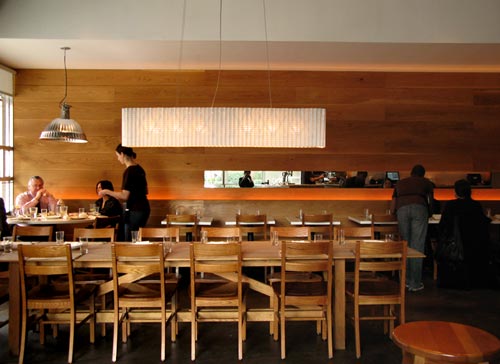
For our last example, we're going to mix it up a bit. Take a look at this image:
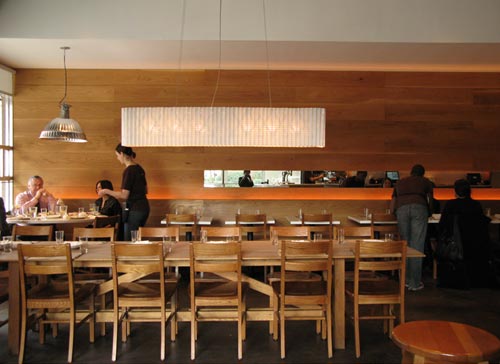
I wasn't comfortable with how pale the left side was. I needed it to be darker and with more contrast. So I made a Levels adjustment (Ctrl-L).
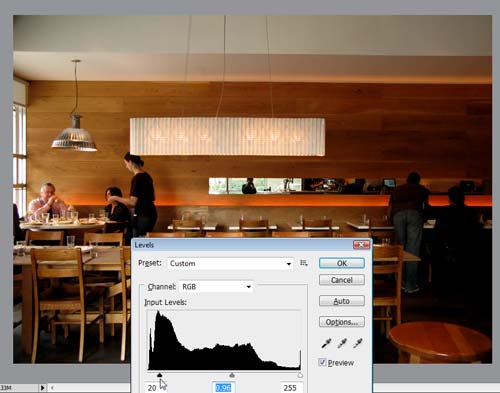
However, fixing that made the right side muddy and gross, because it was sufficiently dark to begin with. Here's where adjustment layers come in. (I canceled this Levels adjustment, of course.)
So, click on the half/half circle again...
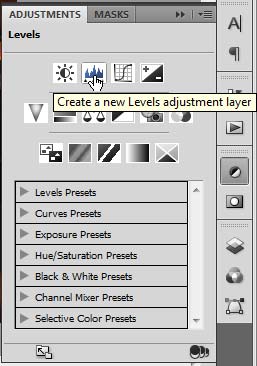
Here's what it looks like in Photoshop. (You can also follow along in Elements.) Click on Levels.
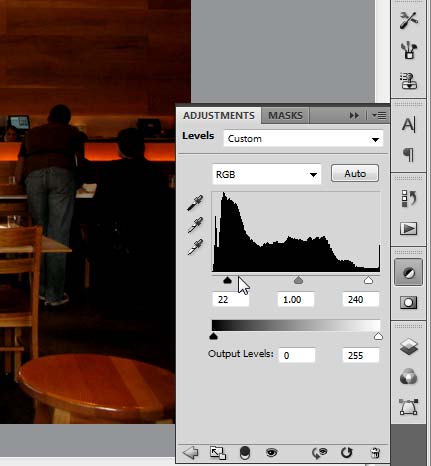
Make your adjustment... Oh, there's that grossness on the right side again!
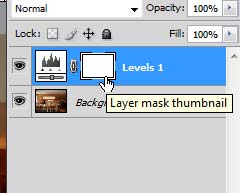
So, making sure the adjustment's mask is selected...
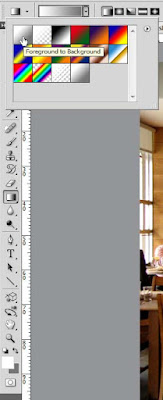
Choose the Gradient tool, and select a linear gradient that changes from foreground to background. My foreground is white and my background is kind of a light gray.
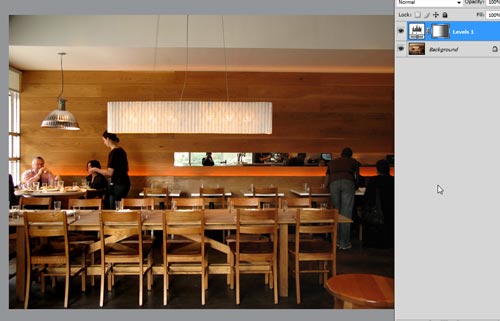
Drag it across your image. You can redo this until you get it right, changing the gray of the gradient, etc. and re-dragging it across the image. As you can see, the thumbnail shows what the gradient looks like. It's white on the left (because that's where we wanted the Levels adjustment to be visible) and gray on the right (because we didn't want it to be severely affected by the Levels adjustment). The image now has great contrast on the left, without making the right side muddy and too dark.
Finished product. If you want to commit to your adjustment and change your image permanently (obviously this is destructive), just click on Layer > Flatten Image. However, in this flattened state, you can now save as a JPG file.
So, the homework is just to play around with any and all the adjustment layers. Try brightness/contrast, exposure, then paint around in the mask using white, black, and varying shades of gray and see what kind of images you can create. But of course, the most fun thing to do would be to "pop" your subjects out of a black-and-white background!


